Tottenham's Tactical Control in 1-0 Win Over Everton
Tottenham’s 1-0 win over Everton at Tottenham Hotspur Stadium was a controlled, system-faithful performance rather than an attacking avalanche. In a final-day Premier League fixture, Roberto De Zerbi’s 4-2-3-1 outshot Everton 20-9 and generated the clearer chances (xG 0.99 to 0.34), but the margin stayed narrow, demanding concentration and structure to see out the result.
Both sides mirrored each other in formation, yet used the shape very differently. Tottenham’s 4-2-3-1 was ball-dominant and territory-focused, with 50% possession but a far greater shot volume, while Leighton Baines’ Everton used the same base to protect central zones and counter selectively, ending with only 1 shot on target.
Out of possession, Tottenham’s pressing scheme started from Richarlison, with the three behind him – Djed Spence, Conor Gallagher and Mathys Tel – staggering their positions to block Everton’s double pivot of James Garner and Tim Iroegbunam. João Palhinha and Rodrigo Bentancur formed the screening pair, stepping out aggressively when Everton tried to play into the No.10 zone occupied by Iliman Ndiaye. The result was Everton being forced wide, reflected in their modest total of 9 shots, with just 3 blocked and only 7 inside the box.
With the ball, Tottenham’s structure was clearly designed to overload the half-spaces. Pedro Porro and Destiny Udogie pushed high from full-back, often forming a line of five with the three advanced midfielders behind Richarlison. Palhinha anchored, allowing Bentancur to step into higher pockets and link play. The 20 total shots and 15 from inside the box underline how consistently Spurs managed to enter dangerous zones, even if the final action was often crowded out – evidenced by 9 blocked efforts.
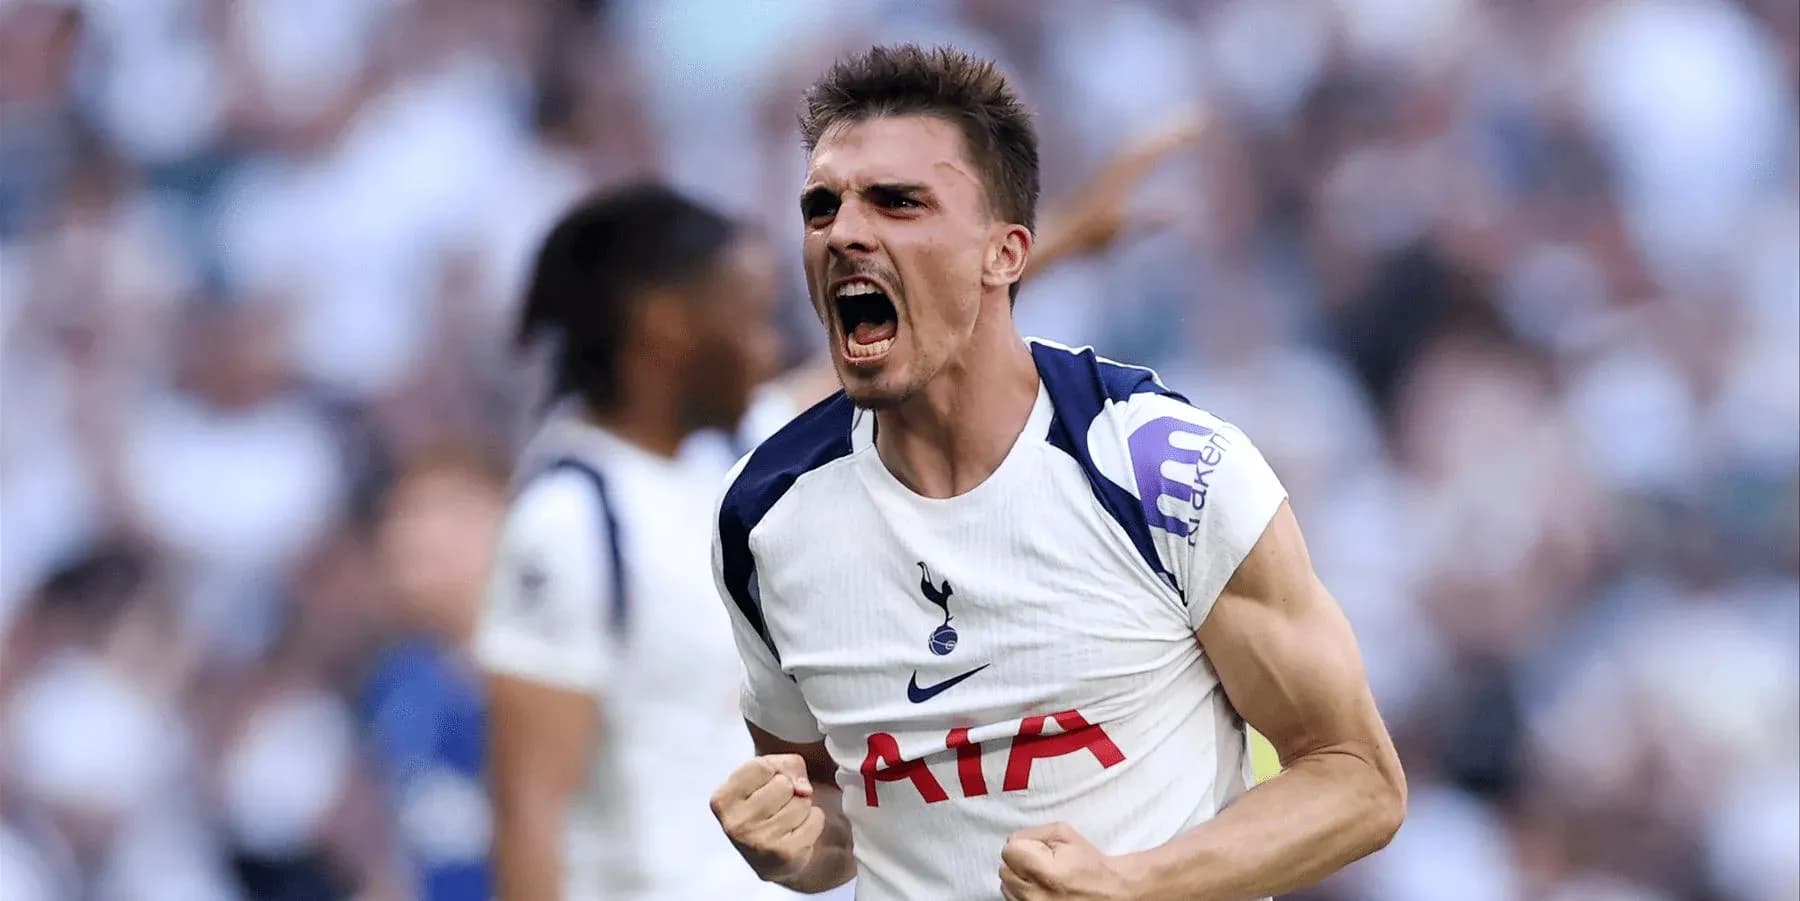
The decisive moment came from midfield: Palhinha’s first-half goal at 43’ rewarded Tottenham’s territorial control. With Everton’s back four compressed by Richarlison’s presence and Tel’s inside movements, second balls around the box became critical. Spurs’ central occupation meant that when the chance broke, it fell to a midfielder arriving from deeper space, rather than a forward with his back to goal. That pattern – forwards pinning, midfielders arriving – was a recurring mechanism in De Zerbi’s attacking plan.
After the break, game management took over. De Zerbi’s substitutions at 73’ and 82’ were clearly tactical rather than reactive to Everton pressure. R. Kolo Muani (IN) came on for Richarlison (OUT), and Pape Matar Sarr (IN) came on for Tel (OUT) to refresh the front line’s running and add extra defensive security in midfield. Later, A. Gray (IN) for Bentancur (OUT) and James Maddison (IN) for Gallagher (OUT) allowed Tottenham to maintain technical control and pressing intensity in the central band while protecting the 1-0 lead.
Everton’s changes at 62’ and 84’ showed Baines’ attempt to inject verticality and creativity. T. George (IN) for M. Rohl (OUT) and H. Armstrong (IN) for Jake O’Brien (OUT) first rebalanced the right side, then a triple change at 84’ – Beto (IN) for T. Barry (OUT), C. Alcaraz (IN) for Kiernan Dewsbury-Hall (OUT), and Seamus Coleman (IN) for Iroegbunam (OUT) – pointed to a late push. Yet the underlying issue remained: Everton struggled to progress centrally against Tottenham’s double pivot and were forced into predictable wide deliveries that the centre-backs could manage.
Defensively, Tottenham’s back four of Porro, Kevin Danso, Micky van de Ven and Udogie benefited from the protection ahead of them. Everton’s single shot on target reflects how well Spurs controlled the space between the lines and limited clean looks at goal. The foul count – 15 for Tottenham, 18 for Everton – suggests a physical but measured contest, with Spurs willing to stop transitions early rather than allow Everton to run at their back line.
In goal, A. Kinsky (Tottenham) was largely protected by the structure, officially required to make just 1 save. The statistics also show a negative goals prevented figure for Tottenham, indicating that the single save was from a relatively low-probability effort and that the model judged Kinsky to have slightly underperformed versus the quality of Everton’s attempts, though without cost on the scoreboard. At the other end, J. Pickford (Everton) made 1 save as well, but faced a heavier overall shot volume; many of Tottenham’s 20 efforts were blocked before reaching him, a credit to the work of James Tarkowski and Michael Keane in front.
Passing data underlines the tactical balance. Tottenham completed 317 of 373 passes (85%), Everton 314 of 377 (83%). The near-equal totals and 50%-50% possession show that this was not a one-sided siege; rather, Tottenham were more purposeful with their phases. Spurs converted their possession into 20 shots and 7 corners, while Everton’s similar passing volume yielded just 9 shots and 7 corners, reflecting the difference in field position and penetration.
The xG split – 0.99 for Tottenham, 0.34 for Everton – is consistent with the eye-test of the stats: Spurs crafted one or two high-quality situations plus a series of half-chances, while Everton rarely broke Tottenham’s central block with enough clarity to test Kinsky repeatedly. Nine blocked Tottenham shots point to an Everton side that defended the box with commitment, but the inability to translate their defensive work into sustained attacking threat defined the match.
In tactical terms, Tottenham’s 4-2-3-1 showed more mature spacing, better use of the double pivot, and clearer mechanisms to attack the half-spaces. Everton’s mirrored shape never quite solved the problem of progression through the middle, leaving them reliant on late substitutions and wide play that Tottenham’s defensive structure was built to absorb.